
티스토리 뷰
목적 : 테스트 코드 배포와 디스코드 봇 실행을 위한 서버 셋팅
#1. JAVA 설치
#2. Maven 설치
#3. MySQL 설치
#1. JAVA 설치
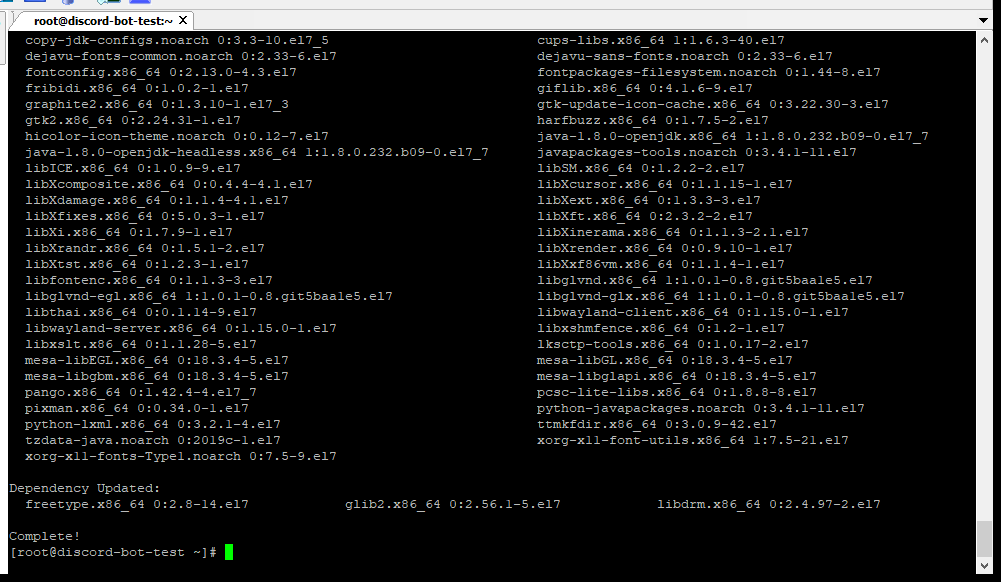
> 설치 : yum install java-1.8.0-openjdk-devel.x86_64
> 확인 : java -version
[root@discord-bot-test ~]# java -version
openjdk version "1.8.0_232"
OpenJDK Runtime Environment (build 1.8.0_232-b09)
OpenJDK 64-Bit Server VM (build 25.232-b09, mixed mode)
[root@discord-bot-test ~]#
#2. Maven 설치
> 적당한 폴더 생성 후 다운로드 (크기로 인해 시간이 다소 소요될 수 있음)
( wget http://www-eu.apache.org/dist/maven/maven-3/3.5.4/binaries/apache-maven-3.5.4-bin.tar.gz)
[root@discord-bot-test ~]# mkdir tools
[root@discord-bot-test ~]# cd tools
[root@discord-bot-test tools]# wget http://www-eu.apache.org/dist/maven/maven-3/3.5.4/binaries/apache-maven-3.5.4-bin.tar.gz
--2019-12-19 17:22:04--  http://www-eu.apache.org/dist/maven/maven-3/3.5.4/binaries/apache-maven-3.5.4-bin.tar.gz
Resolving www-eu.apache.org (www-eu.apache.org)... 95.216.24.32, 2a01:4f9:2a:185f::2
Connecting to www-eu.apache.org (www-eu.apache.org)|95.216.24.32|:80... connected.
HTTP request sent, awaiting response... Read error (Connection reset by peer) in headers.
Retrying.

--2019-12-19 17:24:10--  (try: 2)  http://www-eu.apache.org/dist/maven/maven-3/3.5.4/binaries/apache-maven-3.5.4-bin.tar.gz
Connecting to www-eu.apache.org (www-eu.apache.org)|95.216.24.32|:80... connected.
HTTP request sent, awaiting response... 200 OK
Length: 8842660 (8.4M) [application/x-gzip]
Saving to: ‘apache-maven-3.5.4-bin.tar.gz’

100%[==============================================================================>] 8,842,660    938KB/s   in 10s

2019-12-19 17:24:27 (855 KB/s) - ‘apache-maven-3.5.4-bin.tar.gz’ saved [8842660/8842660]

[root@discord-bot-test tools]#
> 압축 해제 후 심볼릭 링크 생성
[root@discord-bot-test tools]# sudo tar -xzf apache-maven-3.5.4-bin.tar.gz
[root@discord-bot-test tools]# sudo ln -s apache-maven-3.5.4 maven
[root@discord-bot-test tools]# ls
apache-maven-3.5.4  apache-maven-3.5.4-bin.tar.gz  maven
[root@discord-bot-test tools]# cd maven
[root@discord-bot-test maven]# ls
bin  boot  conf  lib  LICENSE  NOTICE  README.txt
[root@discord-bot-test maven]#
> maven.sh 스크립트 생성 후 등록
[root@discord-bot-test maven]# vi /etc/profile.d/maven.sh
[root@discord-bot-test maven]# cat /etc/profile.d/maven.sh
export MAVEN_HOME=/root/tools/maven
export PATH=${MAVEN_HOME}/bin:${PATH}
[root@discord-bot-test maven]# source /etc/profile.d/maven.sh
[root@discord-bot-test maven]# mvn --version
Apache Maven 3.5.4 (1edded0938998edf8bf061f1ceb3cfdeccf443fe; 2018-06-18T03:33:14+09:00)
Maven home: /root/tools/maven
Java version: 1.8.0_232, vendor: Oracle Corporation, runtime: /usr/lib/jvm/java-1.8.0-openjdk-1.8.0.232.b09-0.el7_7.x86_64/jre
Default locale: en_US, platform encoding: UTF-8
OS name: "linux", version: "3.10.0-514.2.2.el7.x86_64", arch: "amd64", family: "unix"
[root@discord-bot-test maven]#
#3. MySQL 설치
> MySQL 다운로드 : wget https://dev.mysql.com/get/mysql57-community-release-el7-11.noarch.rpm
[root@discord-bot-test tools]# wget https://dev.mysql.com/get/mysql57-community-release-el7-11.noarch.rpm
--2019-12-19 17:32:13--  https://dev.mysql.com/get/mysql57-community-release-el7-11.noarch.rpm
Resolving dev.mysql.com (dev.mysql.com)... 137.254.60.11
Connecting to dev.mysql.com (dev.mysql.com)|137.254.60.11|:443... connected.
HTTP request sent, awaiting response... 302 Found
Location: https://repo.mysql.com//mysql57-community-release-el7-11.noarch.rpm [following]
--2019-12-19 17:32:14--  https://repo.mysql.com//mysql57-community-release-el7-11.noarch.rpm
Resolving repo.mysql.com (repo.mysql.com)... 23.212.13.170
Connecting to repo.mysql.com (repo.mysql.com)|23.212.13.170|:443... connected.
HTTP request sent, awaiting response... 200 OK
Length: 25680 (25K) [application/x-redhat-package-manager]
Saving to: ‘mysql57-community-release-el7-11.noarch.rpm’

100%[==============================================================================>] 25,680      --.-K/s   in 0.002s

2019-12-19 17:32:14 (10.3 MB/s) - ‘mysql57-community-release-el7-11.noarch.rpm’ saved [25680/25680]

[root@discord-bot-test tools]#
> 패키지 설치 : rpm -ivh mysql57-community-release-el7-11.noarch.rpm
[root@discord-bot-test tools]# rpm -ivh mysql57-community-release-el7-11.noarch.rpm
warning: mysql57-community-release-el7-11.noarch.rpm: Header V3 DSA/SHA1 Signature, key ID 5072e1f5: NOKEY
Preparing...                          ################################# [100%]
Updating / installing...
   1:mysql57-community-release-el7-11 ################################# [100%]
[root@discord-bot-test tools]#
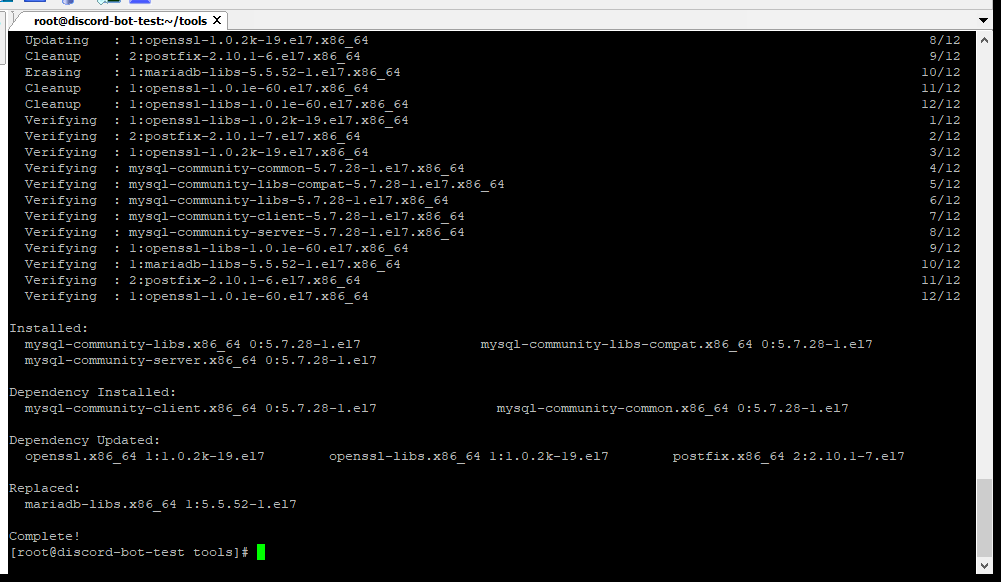
> MySQL 설치 : yum install mysql-server
> 시스템 시작시 자동으로 MySQL 시작하도록 설정 : systemctl enable mysqld
> MySQL 시작 : systemctl start mysqld
> 확인 : ps -ef | grep mysqld
[root@discord-bot-test tools]# systemctl enable mysqld
[root@discord-bot-test tools]# systemctl start mysqld
[root@discord-bot-test tools]# ps -ef | grep mysqld
mysql     7652     1  0 17:44 ?        00:00:00 /usr/sbin/mysqld --daemonize --pid-file=/var/run/mysqld/mysqld.pid
root      7712  5743  0 17:45 pts/1    00:00:00 grep --color=auto mysqld
[root@discord-bot-test tools]#
> 임시 비밀번호 확인 : vim /var/log/mysqld.log
/temporary 로 검색

2019-12-19T08:44:24.122171Z 1 [Note] A temporary password is generated for root@localhost: (임시 비밀번호 - 생략)
> 계정 설정 변경
[root@discord-bot-test tools]# mysql_secure_installation

Securing the MySQL server deployment.

Enter password for user root:
The 'validate_password' plugin is installed on the server.
The subsequent steps will run with the existing configuration
of the plugin.
Using existing password for root.

Estimated strength of the password: 100
Change the password for root ? ((Press y|Y for Yes, any other key for No) : yes

New password:

Re-enter new password:

Estimated strength of the password: 100
Do you wish to continue with the password provided?(Press y|Y for Yes, any other key for No) : yes
By default, a MySQL installation has an anonymous user,
allowing anyone to log into MySQL without having to have
a user account created for them. This is intended only for
testing, and to make the installation go a bit smoother.
You should remove them before moving into a production
environment.

Remove anonymous users? (Press y|Y for Yes, any other key for No) : yes
Success.


Normally, root should only be allowed to connect from
'localhost'. This ensures that someone cannot guess at
the root password from the network.

Disallow root login remotely? (Press y|Y for Yes, any other key for No) : no

 ... skipping.
By default, MySQL comes with a database named 'test' that
anyone can access. This is also intended only for testing,
and should be removed before moving into a production
environment.


Remove test database and access to it? (Press y|Y for Yes, any other key for No) : no

 ... skipping.
Reloading the privilege tables will ensure that all changes
made so far will take effect immediately.

Reload privilege tables now? (Press y|Y for Yes, any other key for No) : yes
Success.

All done!
[root@discord-bot-test tools]#
> MySQL 실행 : mysql -u root -p mysql
[root@discord-bot-test tools]# mysql -u root -p mysql
Enter password:
Reading table information for completion of table and column names
You can turn off this feature to get a quicker startup with -A

Welcome to the MySQL monitor.  Commands end with ; or \g.
Your MySQL connection id is 13
Server version: 5.7.28 MySQL Community Server (GPL)

Copyright (c) 2000, 2019, Oracle and/or its affiliates. All rights reserved.

Oracle is a registered trademark of Oracle Corporation and/or its
affiliates. Other names may be trademarks of their respective
owners.

Type 'help;' or '\h' for help. Type '\c' to clear the current input statement.

mysql>
#4. 서버 설정 변경
- 외부 접속 허용 (MySQL 추가)
> https://console.ncloud.com/mc/compute/server/acg/index

- 외부 접속 허용 - MySQL 접근 조회 (실패시 not allow)
mysql> SELECT Host,User,authentication_string FROM mysql.user;
+-----------+---------------+-------------------------------------------+
| Host      | User          | authentication_string                     |
+-----------+---------------+-------------------------------------------+
| localhost | root          | *생략                                     |
| localhost | mysql.session | *생략                                     |
| localhost | mysql.sys     | *생략                                     |
+-----------+---------------+-------------------------------------------+
3 rows in set (0.00 sec)
> 현재는 localhost만 허용된 상태
Ref. zetawiki(링크)
MySQL 원격 접속 허용 - 제타위키
다음 문자열 포함...
zetawiki.com
> Privilege 추가 (단, 패스워드는 대문자, 소문자, 특수문자 조합으로 생성해야함) 후 Flush (적용)
mysql> INSERT INTO mysql.user (host,user,authentication_string,ssl_cipher, x509_issuer, x509_subject) VALUES ('%','root',password('설정할 패스워드'),'','','');
Query OK, 1 row affected, 1 warning (0.00 sec)

mysql> FLUSH PRIVILEGES;
Query OK, 0 rows affected (0.00 sec)

mysql> GRANT ALL PRIVILEGES ON *.* TO 'root'@'%';
Query OK, 0 rows affected (0.00 sec)

mysql> FLUSH PRIVILEGES;
Query OK, 0 rows affected (0.00 sec)
'Study > 기타' 카테고리의 다른 글
| [Atom] Atom 에디터에서 SFTP 사용하기 (0) | 2020.03.09 |
|---|---|
| [WEB] Adobe Flash 중단에 따른 zeroclipboard 대체작업 (0) | 2019.12.23 |
| [기타] 네이버 클라우드 플랫폼 - 공인 아이피 신청 (0) | 2019.12.19 |
| [기타] Git 연동 (0) | 2019.12.19 |
| [기타] 네이버 클라우드 플랫폼 - 서버 생성 및 사용 (0) | 2019.12.19 |
- Total
- Today
- Yesterday
- 지갑 생성
- 회원 탈퇴
- phaser
- GO
- Vampire Survivor
- remote-ftp
- 이더리움 채굴기
- 비트코인
- P3X Redis UI
- 몽고db
- 채굴
- 민팅
- minting
- node
- pharser3
- 모니터 설정
- phaser3
- go lang
- nodejs
- 네이버 클라우드 플랫폼
- mongodb
- krafterspace
- 뱀파이어 사바이벌
- pharser
- node.js
- 이더리움
- OpenSea
- 뱀파이어 서바이벌
- mysql
- Linux
| 일 | 월 | 화 | 수 | 목 | 금 | 토 |
|---|---|---|---|---|---|---|
| 1 | 2 | 3 | 4 | 5 | 6 | 7 |
| 8 | 9 | 10 | 11 | 12 | 13 | 14 |
| 15 | 16 | 17 | 18 | 19 | 20 | 21 |
| 22 | 23 | 24 | 25 | 26 | 27 | 28 |
| 29 | 30 | 31 |