
티스토리 뷰
목표
0. 최대한 쉽게..
1. Git Repository 생성 및 연동
2. 개발 Tool 연동
3. 서버 배포 및 실행
1. Git 사용
설명할 내용
- Git Hub에 Repository를 생성하고 Commit & Push를 통해 코드를 저장 & 관리하도록 함.
#1. Git Repository 생성 및 연동
> 코드 관리를 위해 Git Repository를 생성하고 커밋하는 과정을 다룸.
(1) Git Repository 생성
- Git : https://github.com/ 으로 이동 Repository(저장소) 생성.
(로그인, 회원가입 과정은 생략)


이후 Repository를 init 해주고 first commit 해주기 위해 위 내용중 아래 내용을 복사해둔다.
echo "# node_example" >> README.md
git init
git add README.md
git commit -m "first commit"
git remote add origin https://github.com/johoonx2/node_example.git
git push -u origin master
(2) NodeJS Project 생성
NodeJS Project를 생성한 후 First Commit를 해도되고, First Commit 후 해당 경로에 프로젝트를 생성해도 무관함.
여기서는 프로젝트 생성 후 진행함.
생성은 다음을 참고 (https://hoonjo.tistory.com/28)
hoonjo.tistory.com
> 생성
PS D:\forStudy> express --session --ejs --css styplus node_example

  warning: option `--ejs' has been renamed to `--view=ejs'


   create : node_example\
   create : node_example\public\
   create : node_example\public\javascripts\
   create : node_example\public\images\
   create : node_example\public\stylesheets\
   create : node_example\public\stylesheets\style.css
   create : node_example\routes\
   create : node_example\routes\index.js
   create : node_example\routes\users.js
   create : node_example\views\
   create : node_example\views\error.ejs
   create : node_example\views\index.ejs
   create : node_example\app.js
   create : node_example\package.json
   create : node_example\bin\
   create : node_example\bin\www

   change directory:
     > cd node_example

   install dependencies:
     > npm install

   run the app:
     > SET DEBUG=node-example:* & npm start

PS D:\forStudy> cd node_example


PS D:\forStudy\node_example> npm install


npm notice created a lockfile as package-lock.json. You should commit this file.
added 53 packages from 38 contributors and audited 141 packages in 3.434s
found 0 vulnerabilities


PS D:\forStudy\node_example> npm install express --save
+ express@4.16.4
updated 1 package and audited 141 packages in 2.353s
found 0 vulnerabilities

PS D:\forStudy\node_example>
(3) Git Repository 초기화 및 First Commit
> NodeJS 프로젝트가 생성된 경로로 이동
> 마우스 우클릭 후 Git Bash Here 선택

> 앞서 Git Repository 생성 후 복사해놓은 Init과 First Commit 입력
echo "# node_example" >> README.md
git init
git add README.md
git commit -m "first commit"
git remote add origin https://github.com/johoonx2/node_example.git
git push -u origin master
> 입력 결과
line play@DESKTOP-AET4QEL MINGW64 /d/forStudy/node_example
$ echo "# node_example" >> README.md
git commit -m "first commit"
git remote add origin https://github.com/johoonx2/node_example.git
git push -u origin master
line play@DESKTOP-AET4QEL MINGW64 /d/forStudy/node_example
$ git init
Initialized empty Git repository in D:/forStudy/node_example/.git/
line play@DESKTOP-AET4QEL MINGW64 /d/forStudy/node_example (master)
$ git add README.md
warning: LF will be replaced by CRLF in README.md.
The file will have its original line endings in your working directory.
line play@DESKTOP-AET4QEL MINGW64 /d/forStudy/node_example (master)
$ git commit -m "first commit"
[master (root-commit) c97fff2] first commit
1 file changed, 1 insertion(+)
create mode 100644 README.md
line play@DESKTOP-AET4QEL MINGW64 /d/forStudy/node_example (master)
$ git remote add origin https://github.com/johoonx2/node_example.git
line play@DESKTOP-AET4QEL MINGW64 /d/forStudy/node_example (master)
$ git push -u origin master
fatal: HttpRequestException encountered.
▒▒ ▒▒û▒▒ ▒▒▒▒▒▒ ▒▒▒▒ ▒▒▒▒▒▒ ▒▒▒߽▒▒ϴ▒.
Username for 'https://github.com': johoonx2
tmdalsCounting objects: 3, done.
Writing objects: 100% (3/3), 221 bytes | 221.00 KiB/s, done.
Total 3 (delta 0), reused 0 (delta 0)
To https://github.com/johoonx2/node_example.git
* [new branch] master -> master
Branch master set up to track remote branch master from origin.
line play@DESKTOP-AET4QEL MINGW64 /d/forStudy/node_example (master)
$
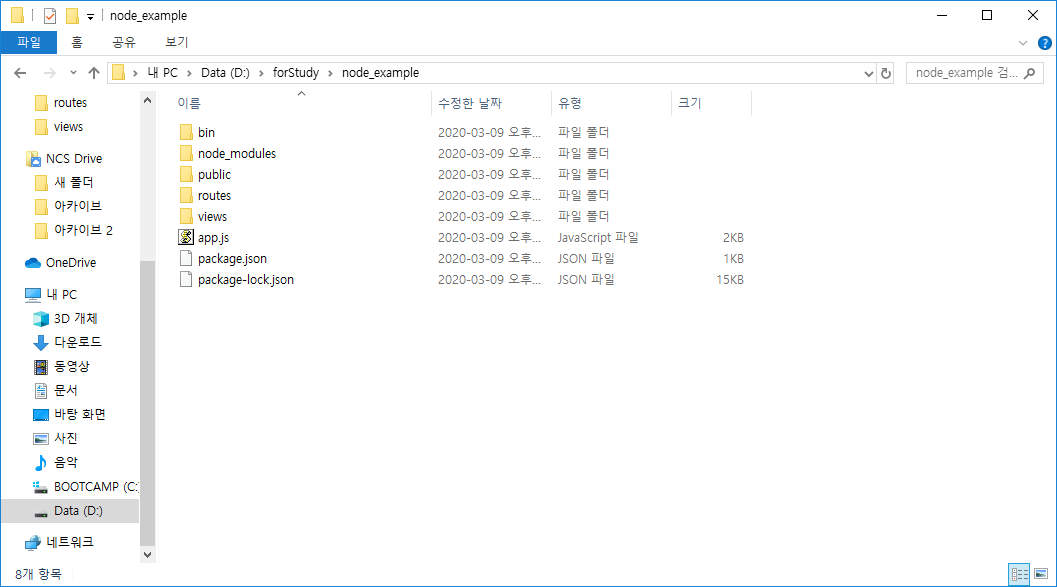
> .git 폴더가 생성된 것을 확인

#2. Git Commit & Push
(1) 변경사항 확인
앞서 프로젝트를 생성하고 해당 내용을 Untracked File들을 Commit하지 않았기 때문에 git status를 통해 상태를 조회할 경우 아래와 같은 내용을 볼 수 있음.
> 현재 상태를 보기위해 "git status" 실행

프로젝트 생성 후 추가된 파일은 변경파일로 구분되고 Commit 되지 않은 상태이기때문에 빨간색으로 표시되어있음.
이후 해당 파일을 Commit 해보도록 함.
(2) 변경사항 Commit
|
! Git Respository 구조 Git은 다음 세단계로 나뉜다. Working Directory > Stating Area > Git Directory(Repository)
Working Directory는 현재 Local에서 작업중인 영역을 나타내고 변경한 내용은 Add 명령을 통해 Commit하기 위해 Stage 영역에 추가할 수 있다.
추가된 파일은 Commit을 통해 Repository에 저장된다. |
> git add 명령어를 사용하여 변경사항 모두 스테이지 영역에 추가
현재 경로의 변경사항(Untracked File)을 모두 스테이지 영역에 추가함.
# 변경사항을 확인하면서 추가하고싶을 경우 -p옵션 사용
# 커밋한 내용을 취소하고싶은 경우 git reset 명령을 사용
git add .

> git status로 확인

> git commit -m "메시지"
git commit -m "Create Project"
> git log를 통한 이력확인

(3) Push
> git push를 통해 Repository에 전송

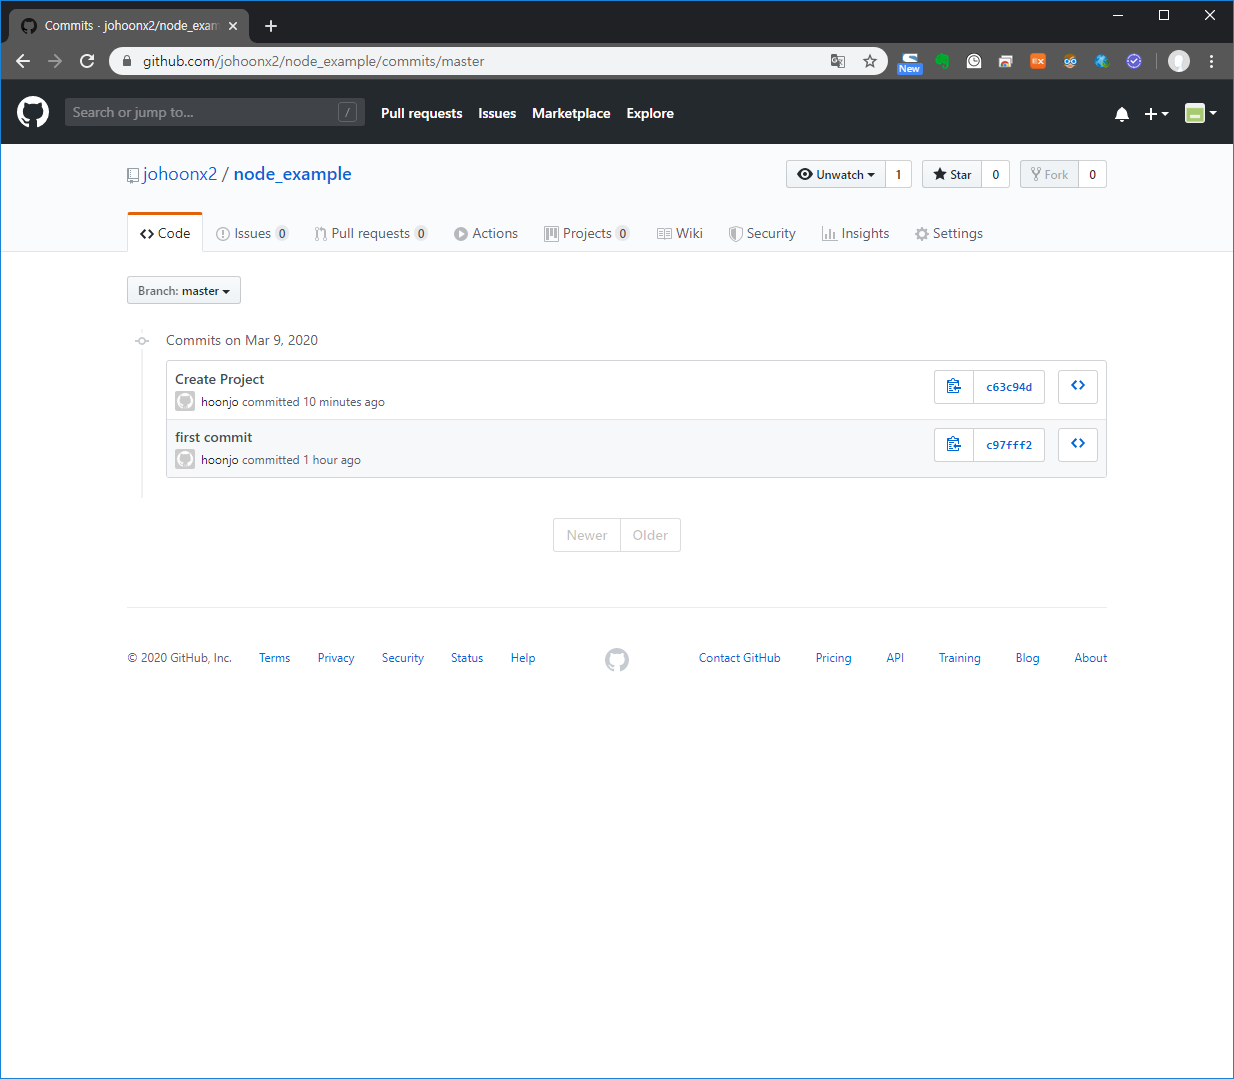
> 확인

> 이력 확인
2. Atom에서 Git 연동 및 SSH 연결 설정
(1) 좀더 편하게 사용할 수 있도록 Atom 에디터에서 Commit & Push 할 수 있도록 셋팅해보도록 함.
(2) SSH 연결정보를 추가하여 서버에 접속하도록 함.
#1. Atom 설정
- File > Open Folder

> 메인화면 (불필요한건 닫으면됨)

- Package > Github > Toggle Git Tab

#2. 코드 수정 후 Commit & Push
(1) 테스트를 위한 코드 수정 및 확인
> 코드를 수정하면 우측 상단의 Unstaged Changes에 수정된 항목이 추가가 됨.

> 변경된 파일을 클릭하면 변경된 내용을 확인할 수 있음. (우측 상단의 수정된 항목인 view\index.ejs를 선택)

> 우클릭 후 Stage를 클릭

> Commit Message를 입력하고 Commit
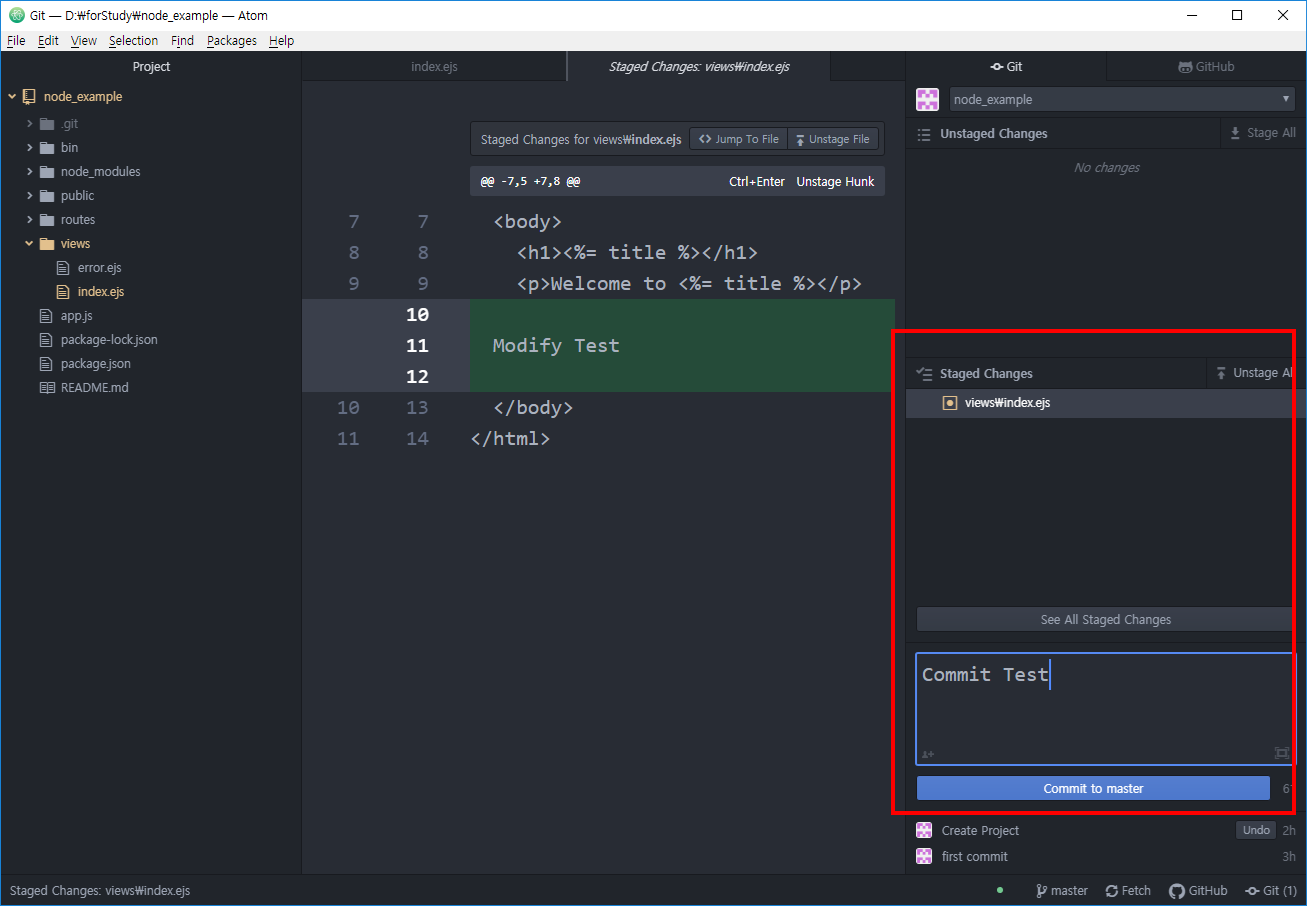
> History에 Commit Message가 추가되고 Push할 항목이 있음을 확인할 수 있음.

> Push 클릭!
- Push를 클릭할 경우 Push 상태에서 Pushing 상태로 변경된것을 확인할 수 있음.

> Push가 완료되면 Fetch로 변경됨.

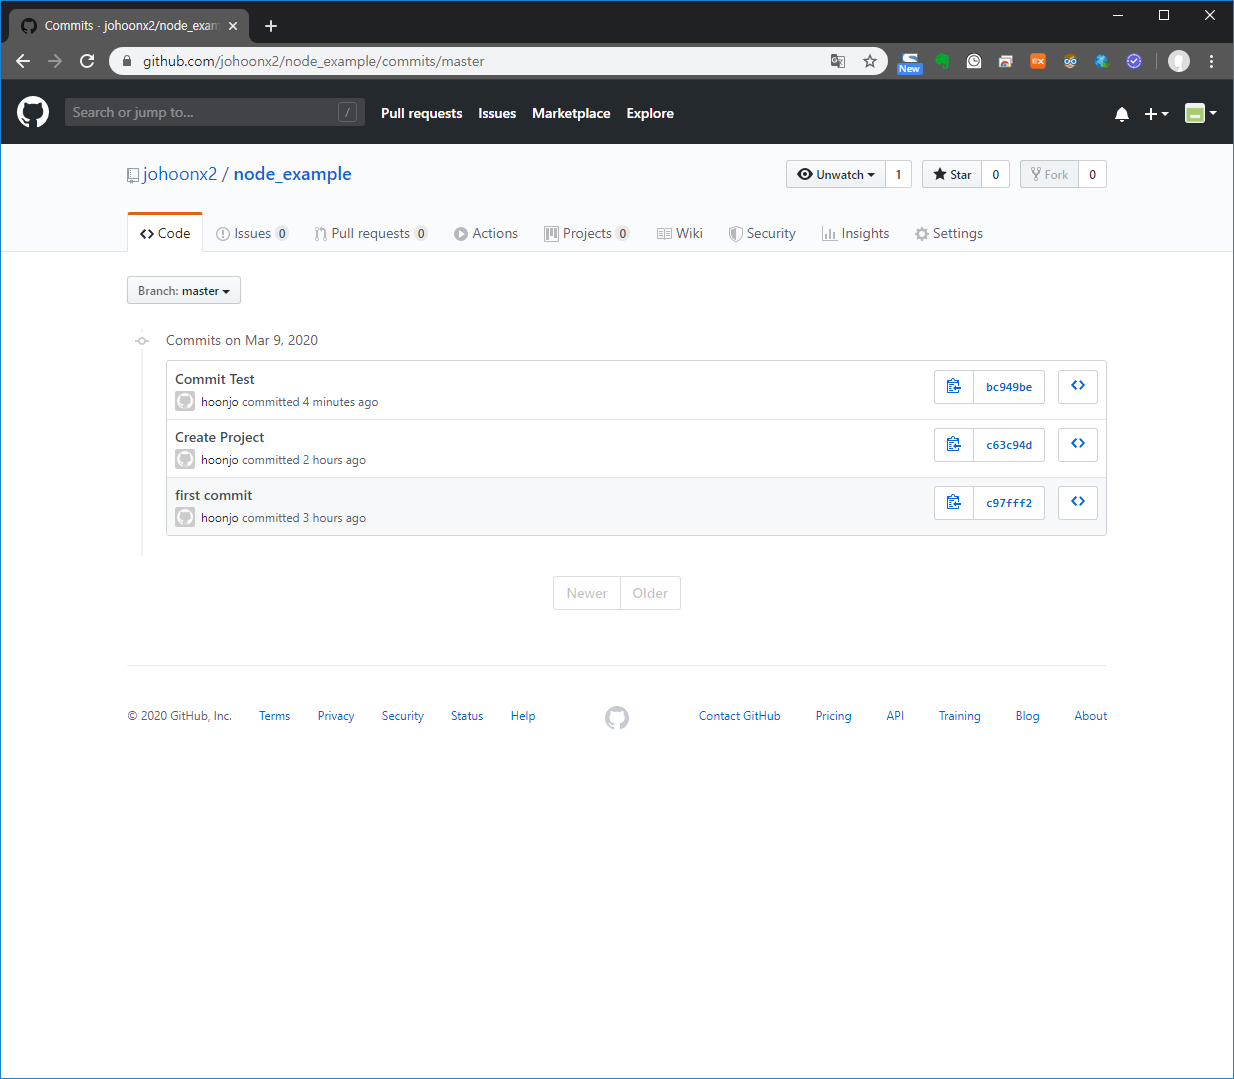
> GitHub에서 확인
- 세번째 커밋이 정상적으로 완료되었음을 확인할 수 있음.
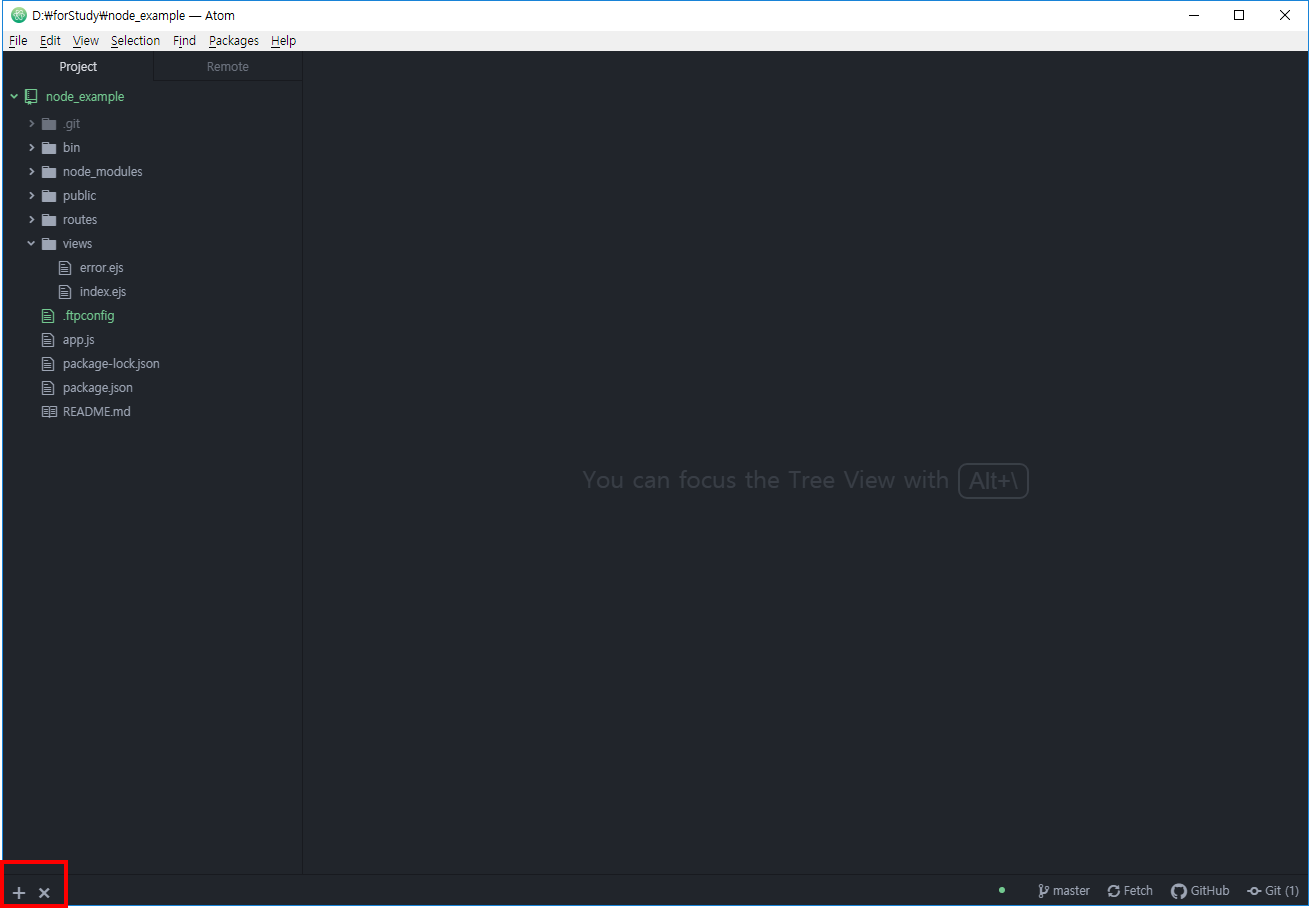
#3. SSH를 통한 서버 접속 - platformio-ide-terminal
(1) platformio-ide-terminal Package 설치
- File > Setting > Install > "terminal-plusplatformio-ide-terminal" 검색 후 Install

(2) platformio-ide-terminal 실행
> 우측 하단의 "+" 클릭

(3) 서버 접속
ssh root@[HostIP] -p [Port]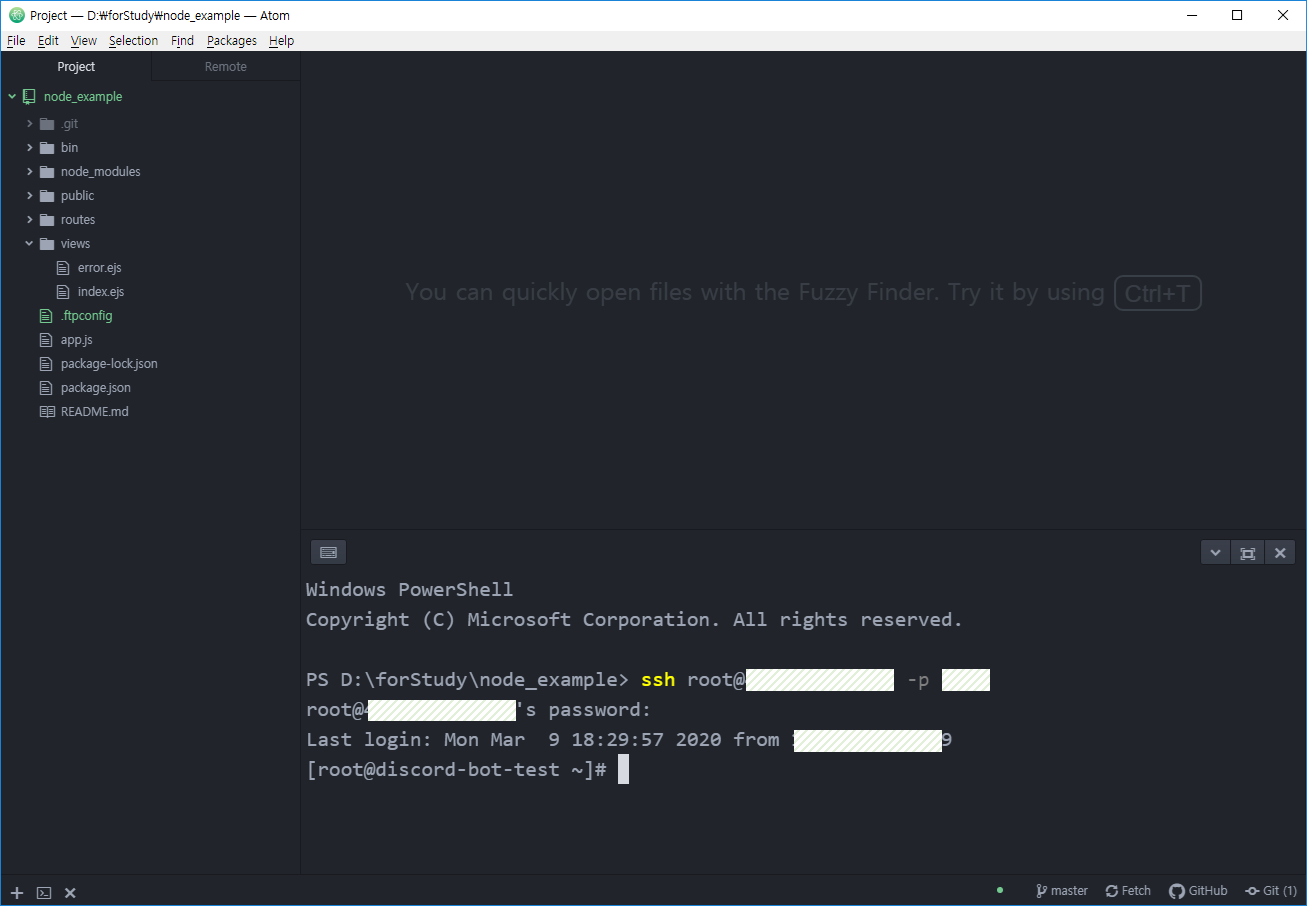
3. 서버 배포
> Git을 사용하여 원격지의 코드를 서버에 배포후 실행해봄.
#1. 코드 배포
(1) Git Clone
# 코드를 받을 폴더 생성 후 이동
[root@discord-bot-test ~]# mkdir nodejs_repositories
[root@discord-bot-test ~]# cd nodejs_repositories/


# Git Clone (코드받기)
[root@discord-bot-test nodejs_repositories]# git clone https://github.com/johoonx2/node_example.git ./node_example

Cloning into './node_example'...
remote: Enumerating objects: 433, done.
remote: Counting objects: 100% (433/433), done.
remote: Compressing objects: 100% (341/341), done.
remote: Total 433 (delta 81), reused 433 (delta 81), pack-reused 0
Receiving objects: 100% (433/433), 597.22 KiB | 330.00 KiB/s, done.
Resolving deltas: 100% (81/81), done.

# 확인
[root@discord-bot-test nodejs_repositories]# ls -al
total 4
drwxr-xr-x   4 root root   36 Mar  9 20:19 .

dr-xr-x---. 10 root root 4096 Mar  9 20:15 ..
drwxr-xr-x   8 root root  152 Mar  9 20:18 .git
drwxr-xr-x   8 root root  156 Mar  9 20:19 node_example
[root@discord-bot-test nodejs_repositories]# cd node_example
[root@discord-bot-test node_example]# ls -al
total 32
drwxr-xr-x  8 root root   156 Mar  9 20:19 .
drwxr-xr-x  4 root root    36 Mar  9 20:19 ..
-rw-r--r--  1 root root  1074 Mar  9 20:19 app.js
drwxr-xr-x  2 root root    16 Mar  9 20:19 bin
drwxr-xr-x  8 root root   152 Mar  9 20:19 .git
drwxr-xr-x 56 root root  4096 Mar  9 20:19 node_modules
-rw-r--r--  1 root root   298 Mar  9 20:19 package.json
-rw-r--r--  1 root root 14974 Mar  9 20:19 package-lock.json
drwxr-xr-x  3 root root    24 Mar  9 20:19 public
-rw-r--r--  1 root root    15 Mar  9 20:19 README.md
drwxr-xr-x  2 root root    36 Mar  9 20:19 routes
drwxr-xr-x  2 root root    38 Mar  9 20:19 views
[root@discord-bot-test node_example]#
(2) 실행
> 설치한 경로로 이동하여 실행
[root@discord-bot-test bin]# pwd
/root/nodejs_repositories/node_example/bin

[root@discord-bot-test bin]# node www
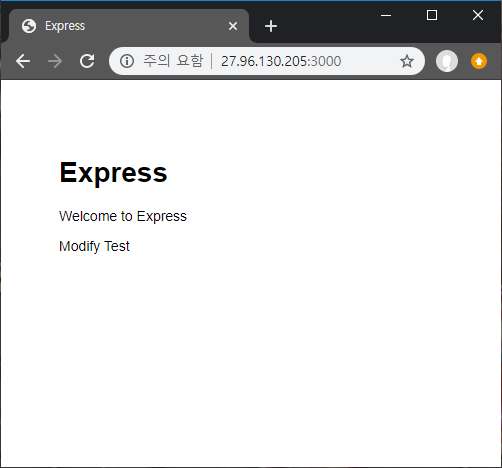
(3) 확인
> Process 확인
[root@discord-bot-test bin]# ps -ef | grep node
root     10170  9778  0 20:48 pts/0    00:00:00 node www
root     10303  8438  0 20:52 pts/2    00:00:00 grep --color=auto node
> 확인
[root@discord-bot-test bin]# node www
GET / 200 44.541 ms - 223
GET /stylesheets/style.css 200 15.701 ms - 111
GET /favicon.ico 404 38.316 ms - 1083
# 서버 설정 가이드
> 본인 서버에 nodejs 및 포트 허용등 설정되어있지않다면 아래 글 참고.
[Node.js] Linux 서버에 Nodejs 설치
1. nvm을 사용한 node.js 설치 nvm? Node Version Manager. #1. nvm을 이용한 설치 (1) nvm 설치 > 아래 명령어중 하나를 선택하여 설치 진행 curl -o- https://raw.githubusercontent.com/nvm-sh/nvm/v0.35.3/ins..
hoonjo.tistory.com
'Study > NodeJS' 카테고리의 다른 글
| [Node.js + Phaser3] Hello Phaser? (1) (0) | 2022.02.17 |
|---|---|
| [Node.js] Linux 서버에 Nodejs 설치 (1) | 2020.03.09 |
| [Node.js] Simple Express Preject (1) | 2020.02.19 |
| [Node.js] Simple CRUD Project (with MongoDB) (2) | 2020.02.14 |
| [Node.js] Mongo DB 사용 (2) | 2020.02.11 |
- Total
- Today
- Yesterday
- phaser3
- Linux
- node
- mongodb
- mysql
- 네이버 클라우드 플랫폼
- nodejs
- 비트코인
- pharser3
- OpenSea
- krafterspace
- 채굴
- 회원 탈퇴
- remote-ftp
- 뱀파이어 사바이벌
- go lang
- 모니터 설정
- node.js
- 이더리움 채굴기
- pharser
- 민팅
- GO
- Vampire Survivor
- 뱀파이어 서바이벌
- minting
- phaser
- 몽고db
- P3X Redis UI
- 지갑 생성
- 이더리움
| 일 | 월 | 화 | 수 | 목 | 금 | 토 |
|---|---|---|---|---|---|---|
| 1 | 2 | 3 | 4 | 5 | 6 | 7 |
| 8 | 9 | 10 | 11 | 12 | 13 | 14 |
| 15 | 16 | 17 | 18 | 19 | 20 | 21 |
| 22 | 23 | 24 | 25 | 26 | 27 | 28 |
| 29 | 30 | 31 |